15 Genius Diy Insulated Cat House Worth Pinning Immediately
- The Styrofoam Cooler Classic
- The Two-Tote Nesting Shelter
- The Repurposed Doghouse Upgrade
- The Under-Deck Insulated Nook
- The Hay Bale Igloo
- The Rubbermaid Bin Mini Cabin
- The Heated Pad Insulated Box
- The A-Frame Wood Shelter
- The Cinder Block and Foam Board Shelter
- The Multi-Cat Duplex
- The Elevated Platform Shelter
- The Storage Bin Bunk Bed
- The Feral Colony Shelter Row
- The Window Well Cover Shelter
- The Garage Corner Conversion
15 Genius Diy Insulated Cat House Worth Pinning Immediately
If you’ve got outdoor cats, feral colony visitors, or a barn cat who refuses to come inside no matter how many times you leave the door open, winter can be a genuine worry. I’ve spent more late nights than I’d like to admit googling insulated shelter designs after a stray started showing up on my porch every January. So consider this list your shortcut — fifteen genuinely smart, cozy, and doable builds that’ll keep any outdoor cat warm without costing a fortune.
The Styrofoam Cooler Classic
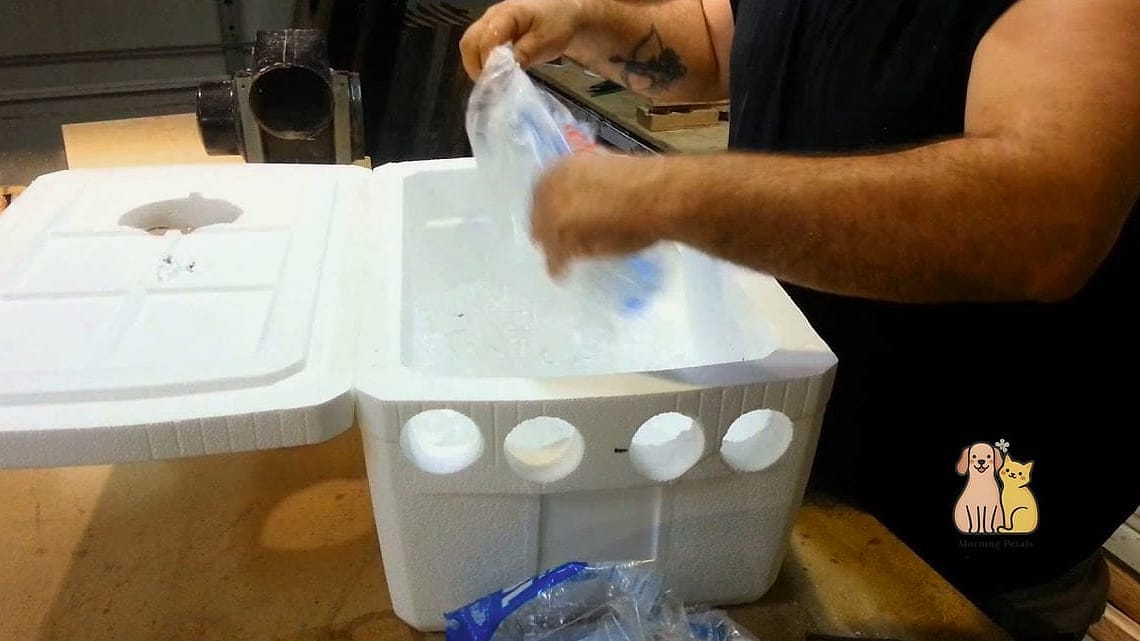
This is the build most rescue groups swear by, and for good reason. You take a large styrofoam cooler, cut a small entry hole on the side (away from prevailing wind), and line the inside with straw — not blankets, since fabric absorbs moisture and can actually make a cat colder. Slide the whole thing into a plastic storage tote with a couple inches of gap on all sides for extra insulation. It’s cheap, it’s fast, and it holds body heat shockingly well. Great for beginners and perfect if you’re setting up shelter for a colony rather than just one cat.
The Two-Tote Nesting Shelter
Similar concept, leveled up. You nest a smaller plastic tote inside a larger one, fill the gap between them with foam board insulation or even packing peanuts, then cut matching entry holes through both layers. The double-wall effect traps air really well, which is basically the whole secret to insulation. Line the inner chamber with straw and you’ve got a shelter that can handle seriously cold nights. This one takes a little more assembly but nothing beyond basic tools.
The Repurposed Doghouse Upgrade

Got an old wooden doghouse sitting in the garage? Don’t toss it. Line the interior walls with rigid foam insulation board, cut to fit, then cover with a scrap of vinyl or plywood so the cat can’t chew or scratch through it. Add a heavy vinyl or rubber flap over the entrance to cut wind chill dramatically. This is one of the sturdier options on the list and holds up well if you’re in an area with real snow.
The Under-Deck Insulated Nook
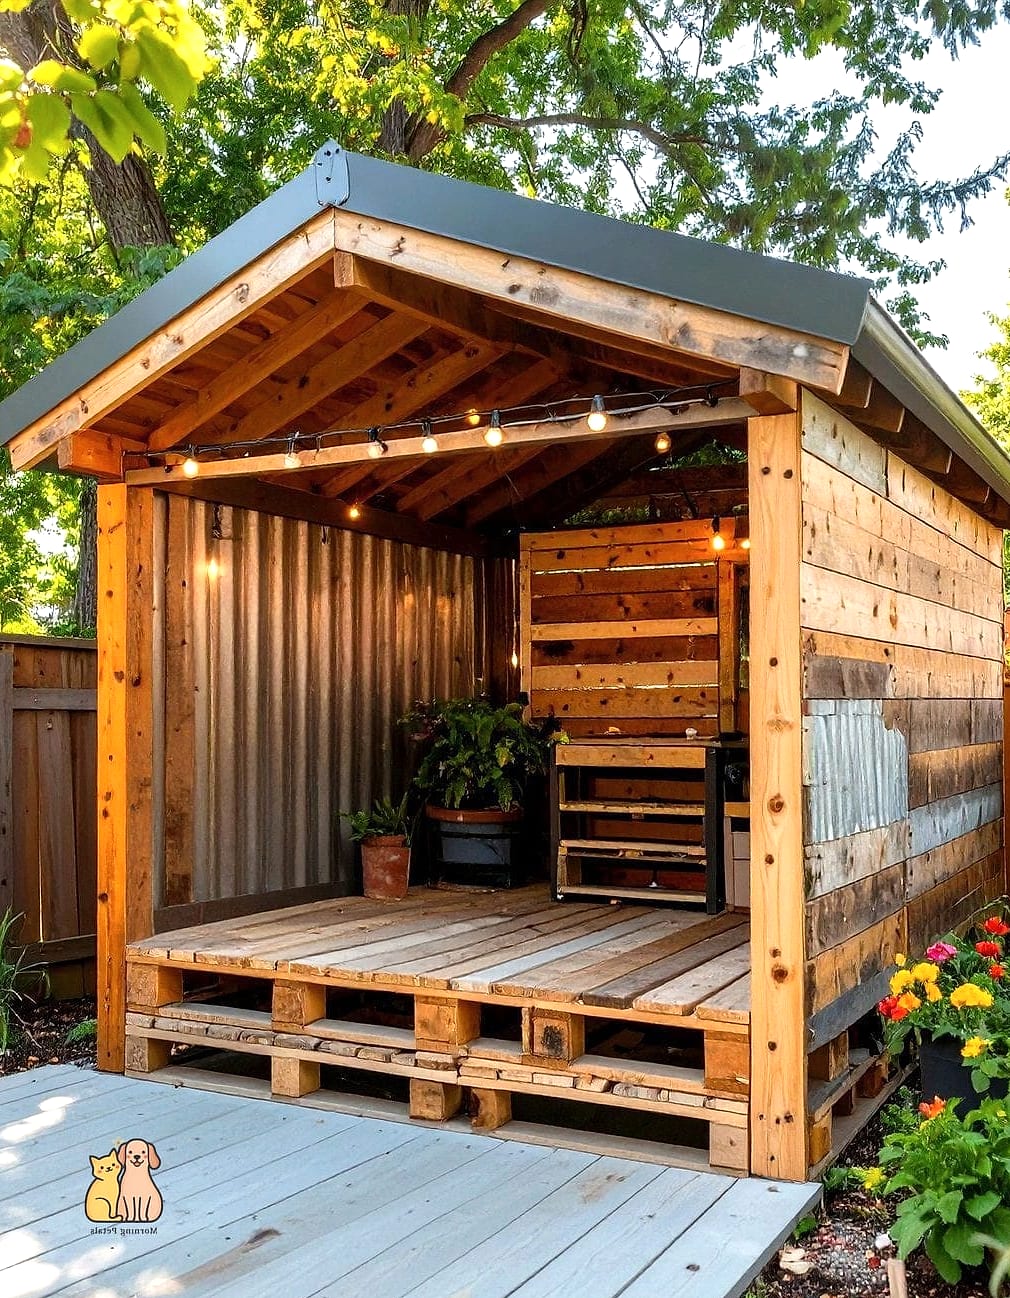
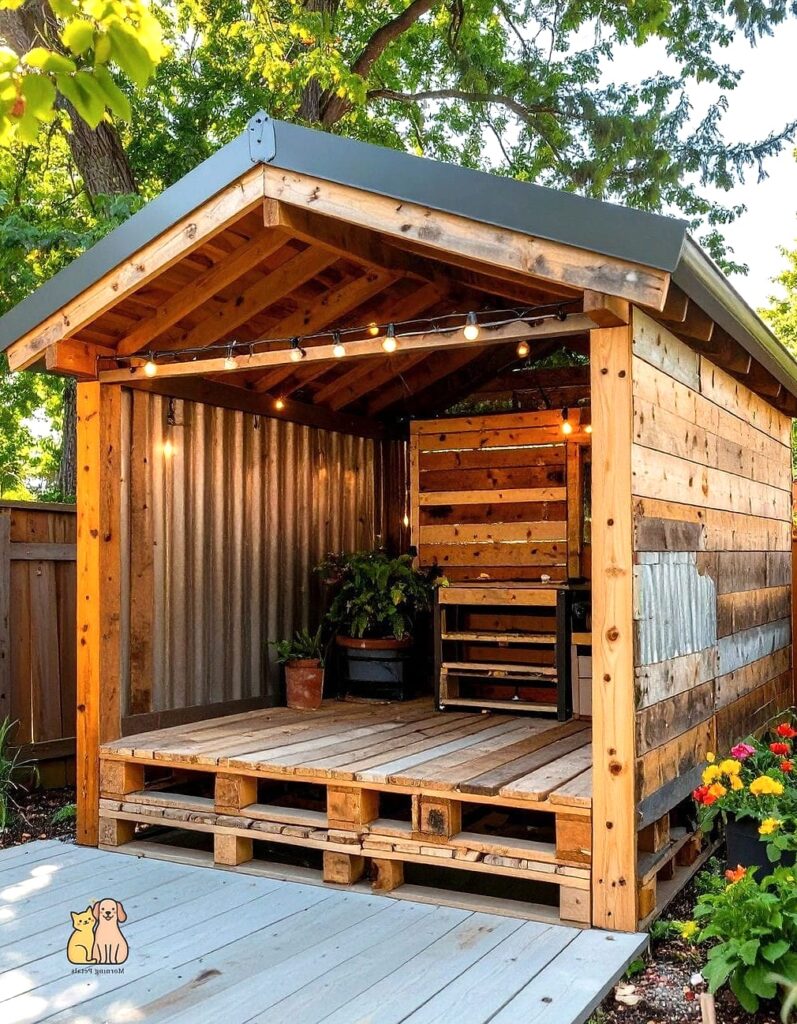
If you’ve got space under a deck or porch, this is a low-effort favorite. Build a simple plywood box that fits the space, insulate the walls with foam board, and use the deck itself as a built-in roof. It’s naturally sheltered from rain and wind already, so you’re mostly just adding warmth. I love this one because it blends into the yard instead of looking like an obvious cat house.
The Hay Bale Igloo
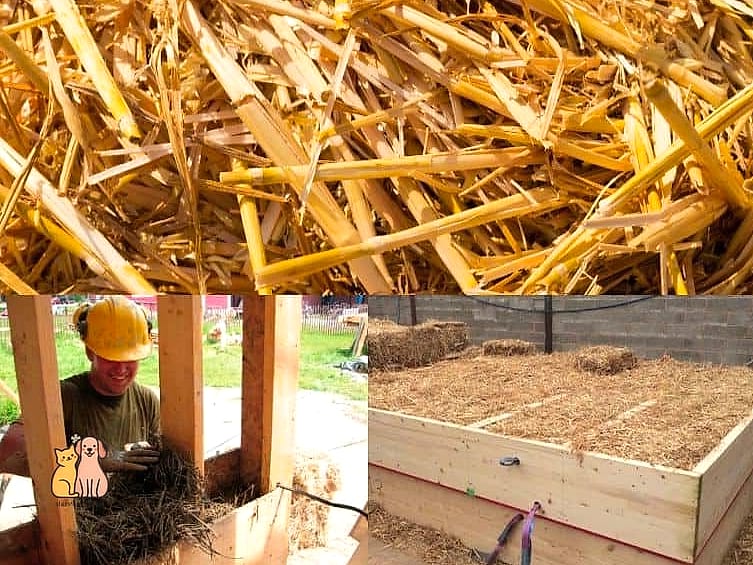
For anyone with access to a barn or farm supply store, stacking hay bales into a small enclosure is surprisingly effective. Hay insulates naturally, and cats instinctively burrow into it. Leave a narrow entrance tunnel through the bales to block wind, and toss a layer of straw inside for bedding. This is more of a seasonal setup than a permanent structure, but it’s about as budget-friendly as insulated shelter gets.
The Rubbermaid Bin Mini Cabin
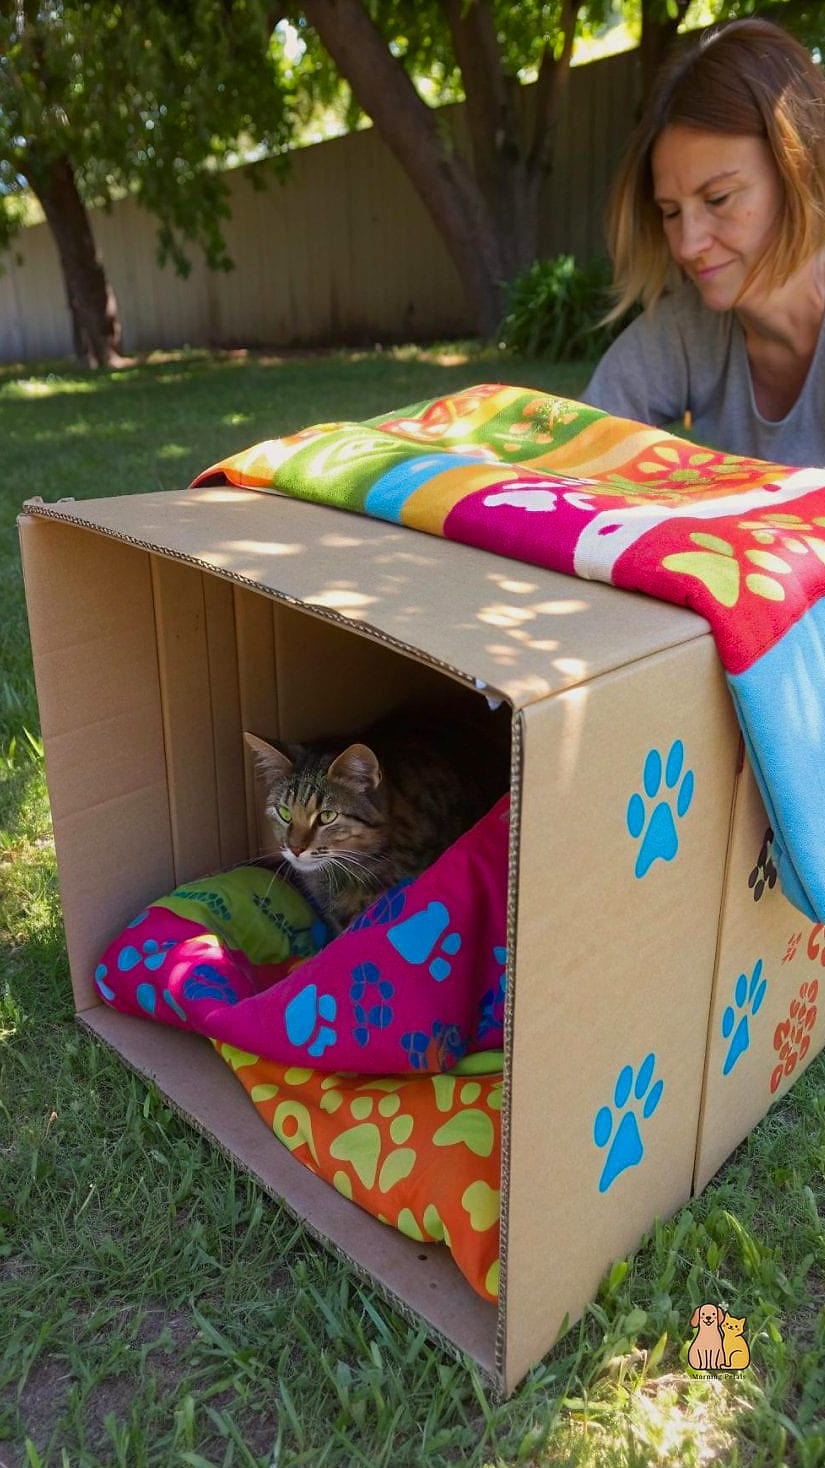
This one’s a step up in looks — you cut a doorway into a Rubbermaid bin, then build a little wooden “cabin” frame around it using cheap furring strips and thin plywood panels, mostly for aesthetics and extra wind protection. Insulate the gap between the bin and the wood shell with foam board. It ends up looking like an actual tiny house, which makes it a favorite for people who want function and curb appeal.
The Heated Pad Insulated Box
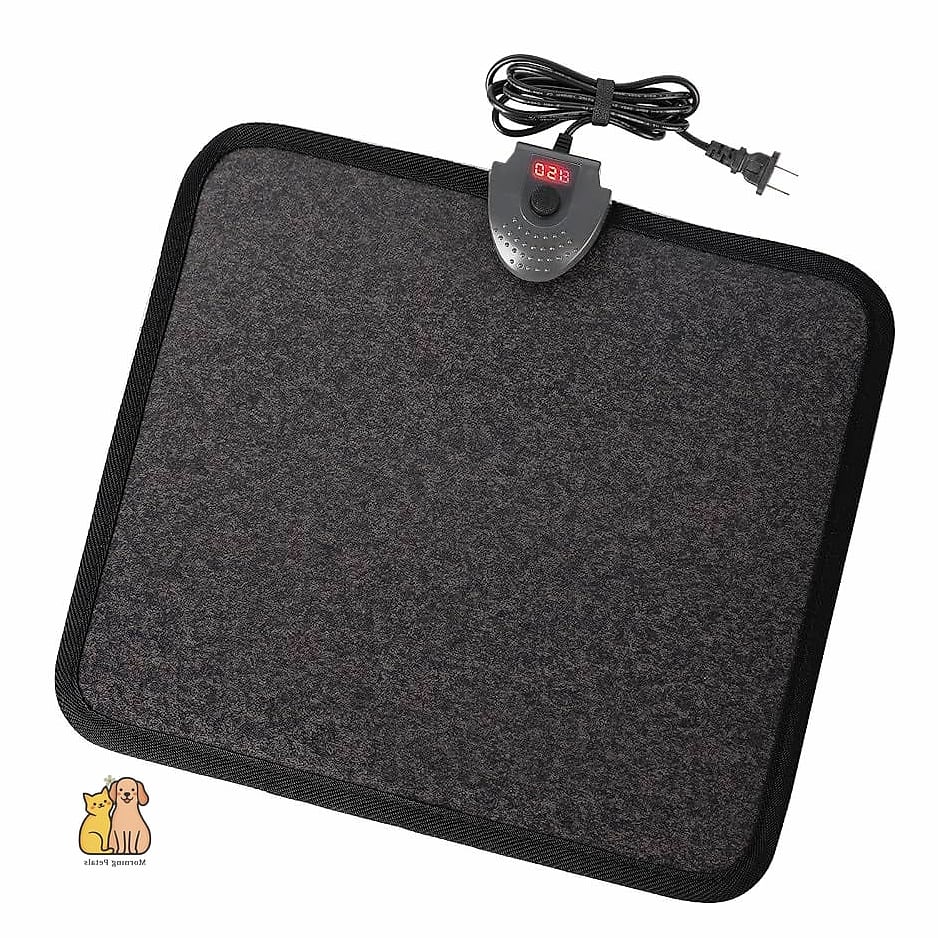
For colonies in genuinely brutal climates, pairing insulation with a low-wattage, chew-resistant heated pad designed for outdoor pet use takes things further. Build any of the insulated box designs above, then add the heated pad under the straw bedding. Just make sure the cord is protected in conduit so it can’t be chewed through — safety first with anything electrical outdoors.
The A-Frame Wood Shelter
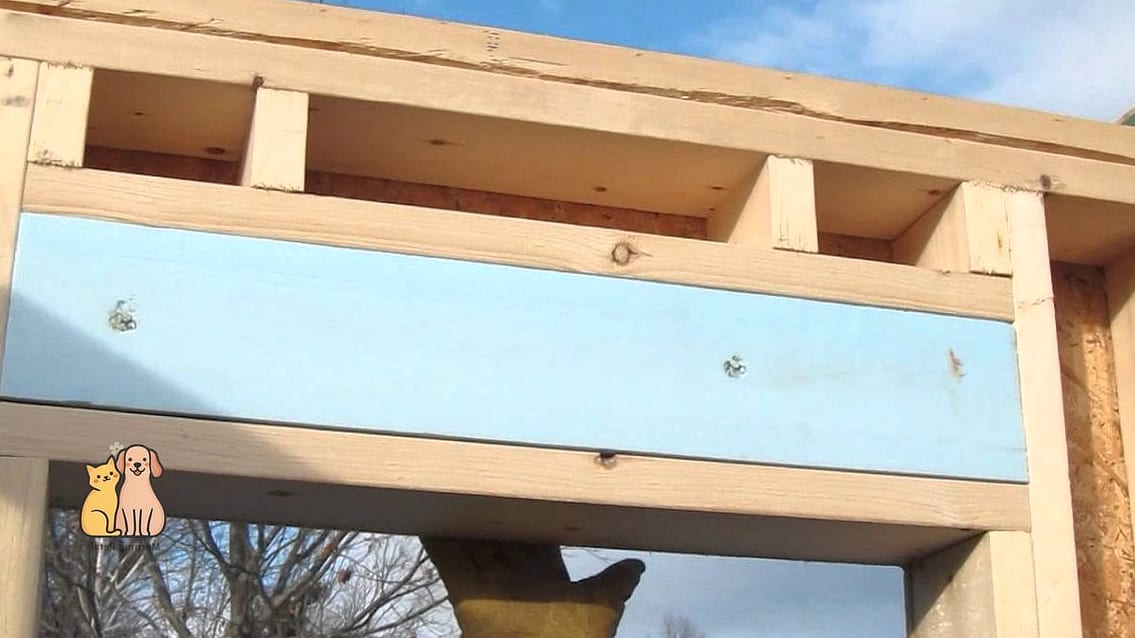
This one looks a little like a mini chalet and sheds snow and rain beautifully thanks to the sloped roof. Build simple triangular end panels, insulate the interior walls with foam board, and add a floor raised slightly off the ground to prevent moisture from seeping in. It takes more carpentry skill than most builds here, so it’s a good pick if you’ve already got some woodworking experience.
The Cinder Block and Foam Board Shelter
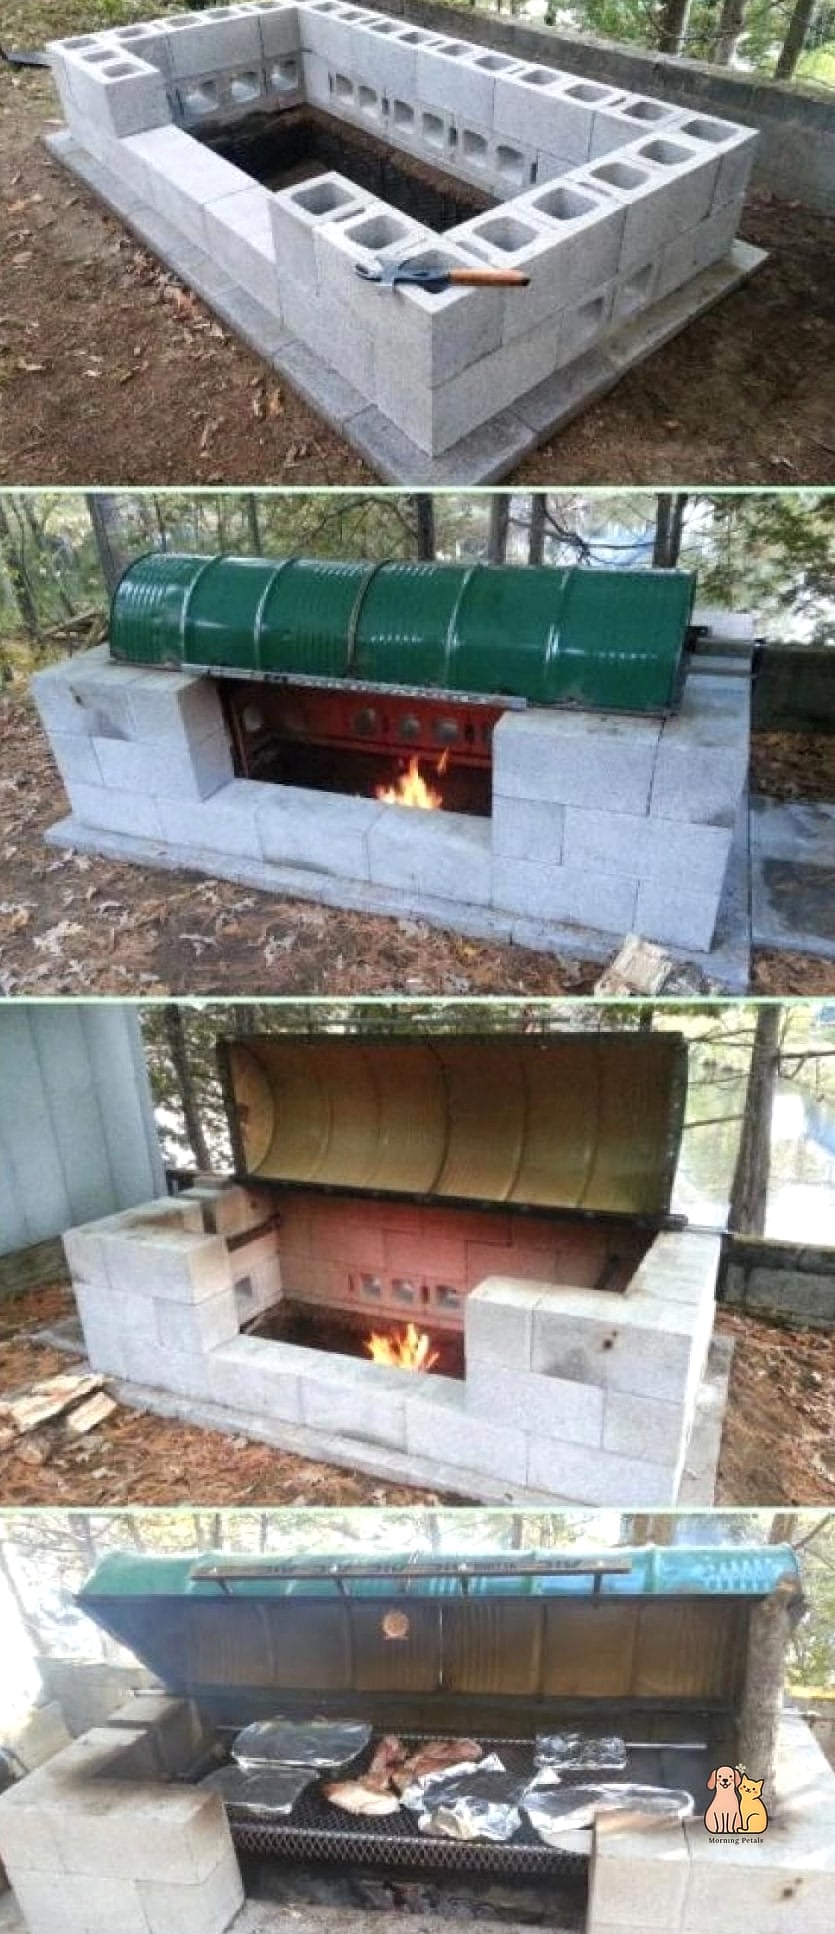
Not the prettiest option, but incredibly sturdy and wind-resistant. Stack cinder blocks into a simple enclosure, line the interior completely with foam board insulation, and top it with a piece of plywood weighted down with a heavy object or another block. This works especially well in exposed, windy areas where lighter shelters might get knocked around.
The Multi-Cat Duplex
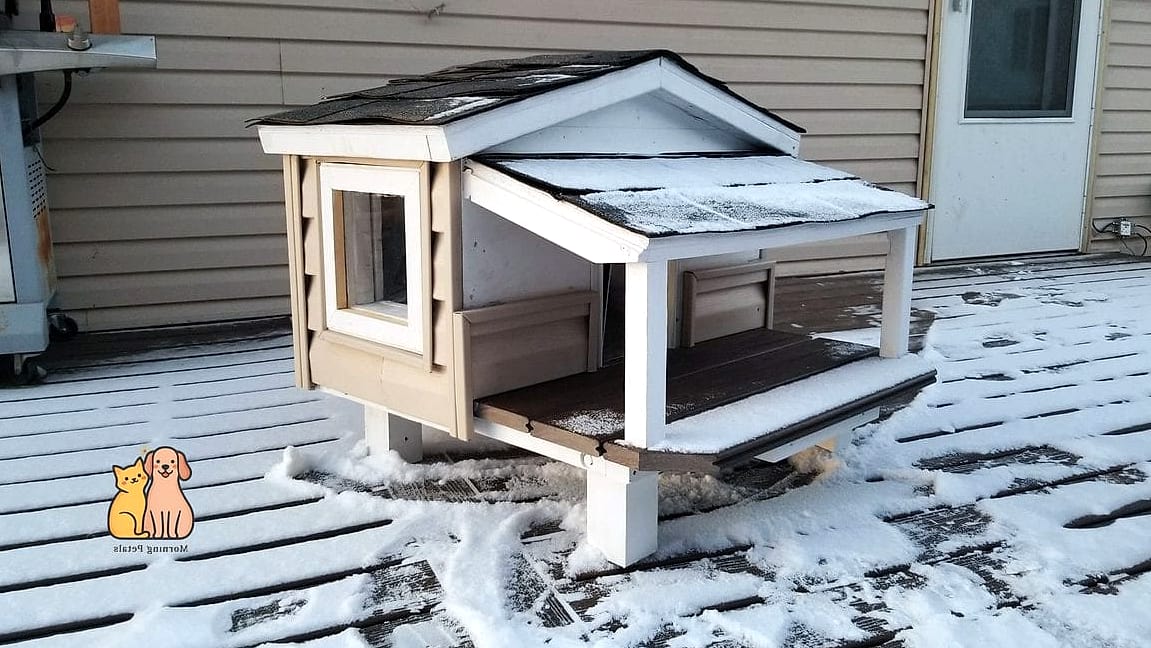
If you’re feeding a colony of three or four regulars, a single-entry shelter can cause overcrowding stress. This design uses one larger insulated box divided into two chambers with separate entrances, so cats who don’t love sharing space still have options. Insulate each side the same way you would a single shelter — foam board walls, straw bedding, wind-blocking entry flaps.
The Elevated Platform Shelter
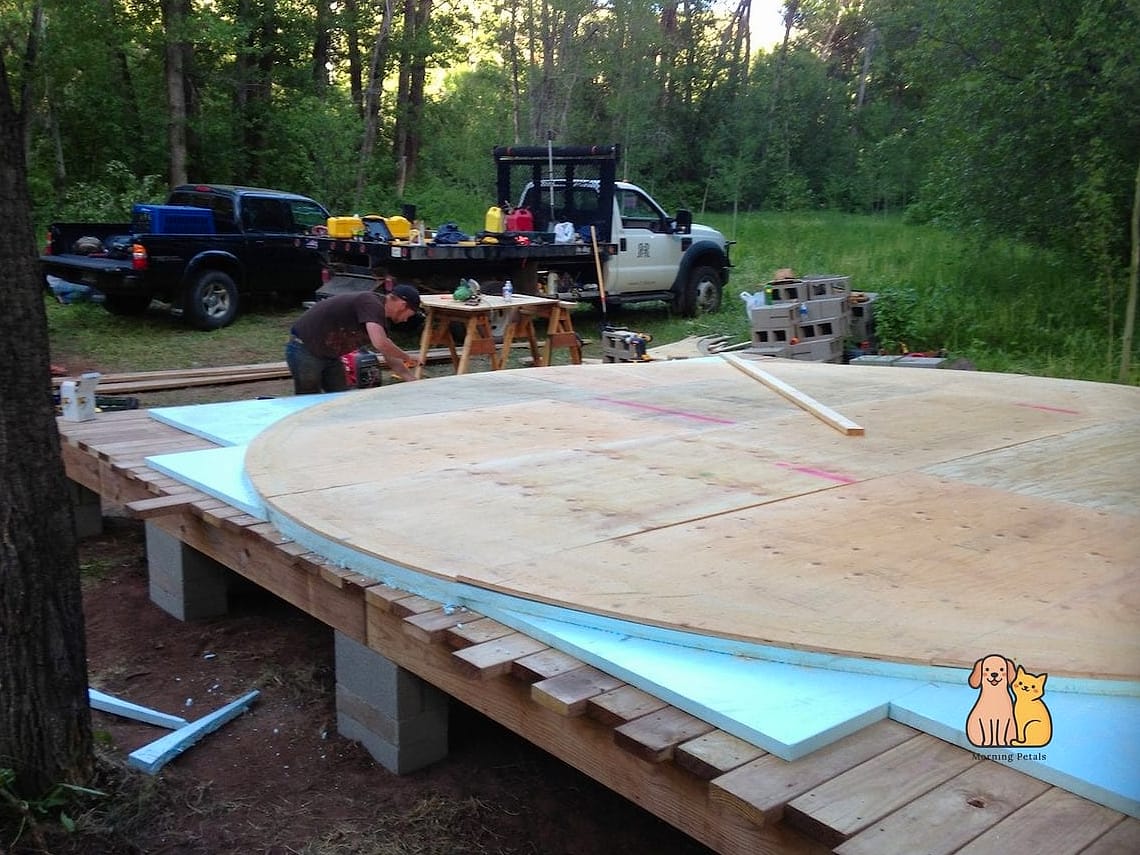
Raising a shelter off the ground on a simple wood platform or cinder block base keeps cold ground temperatures from seeping through the floor, which matters more than people expect. Add a ramp for easy access, insulate the box itself with any method above, and you’ve solved one of the most overlooked heat-loss issues in outdoor cat housing.
The Storage Bin Bunk Bed
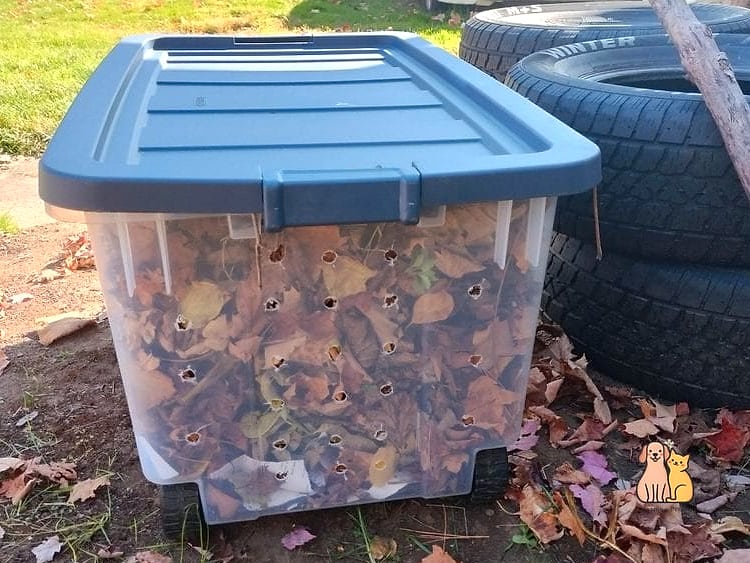
A fun one for people setting up shelter near a home or barn. Stack two insulated tote shelters vertically on a simple wood frame, connecting them with a small ramp. Cats often prefer having a choice of levels, and it doubles your shelter capacity without doubling your footprint. Each level gets its own straw bedding and entrance.
The Feral Colony Shelter Row
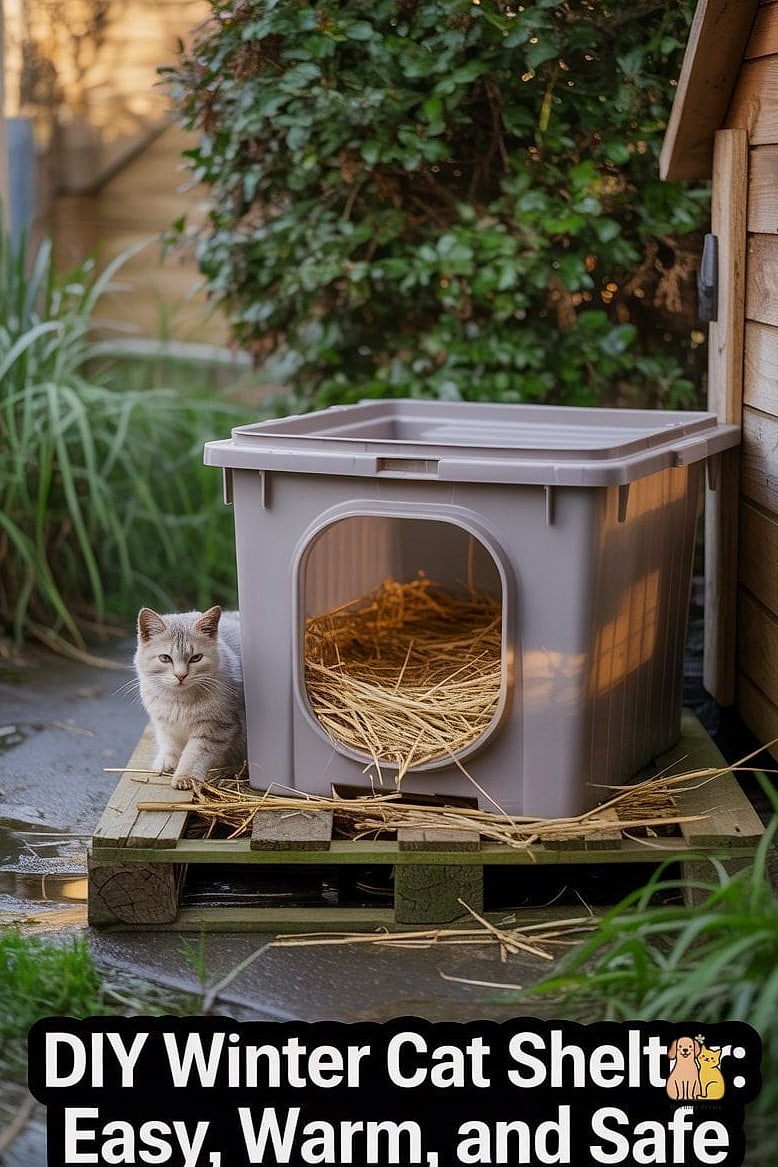
For bigger colonies, building three or four simple insulated boxes in a connected row along a fence line or shed wall works better than one big shared space. Use the styrofoam-cooler-in-tote method for each unit to keep costs down, and space entrances apart so cats aren’t forced into close contact if they’d rather not be.
The Window Well Cover Shelter
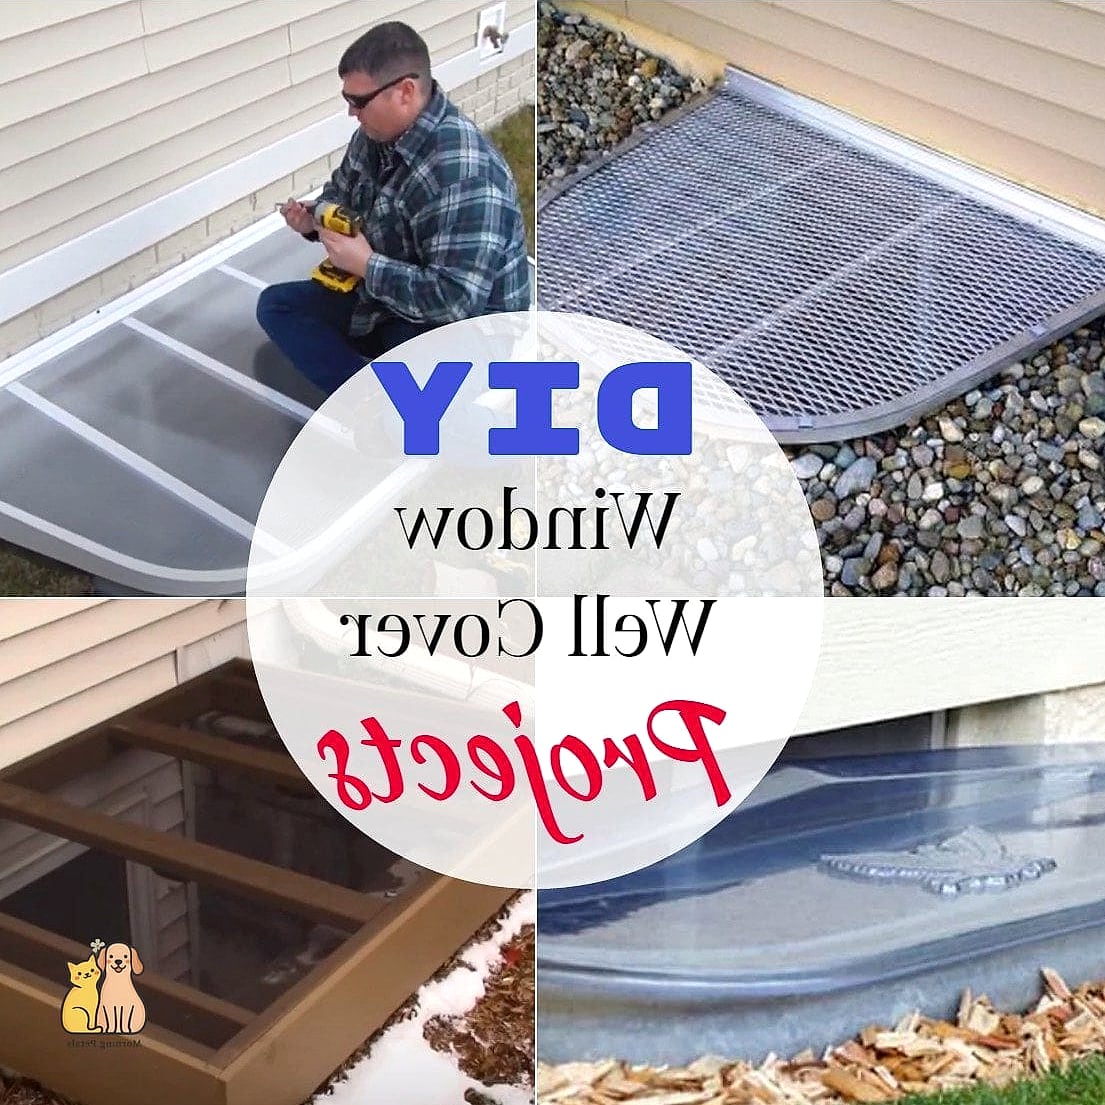
If your house has an exterior window well, covering it with an insulated lid creates an instant sheltered pocket that’s already partially underground and naturally warmer. Add a simple insulated box or straw-lined tote inside the well itself. It’s one of the sneakier, more space-efficient ideas on this list.
The Garage Corner Conversion
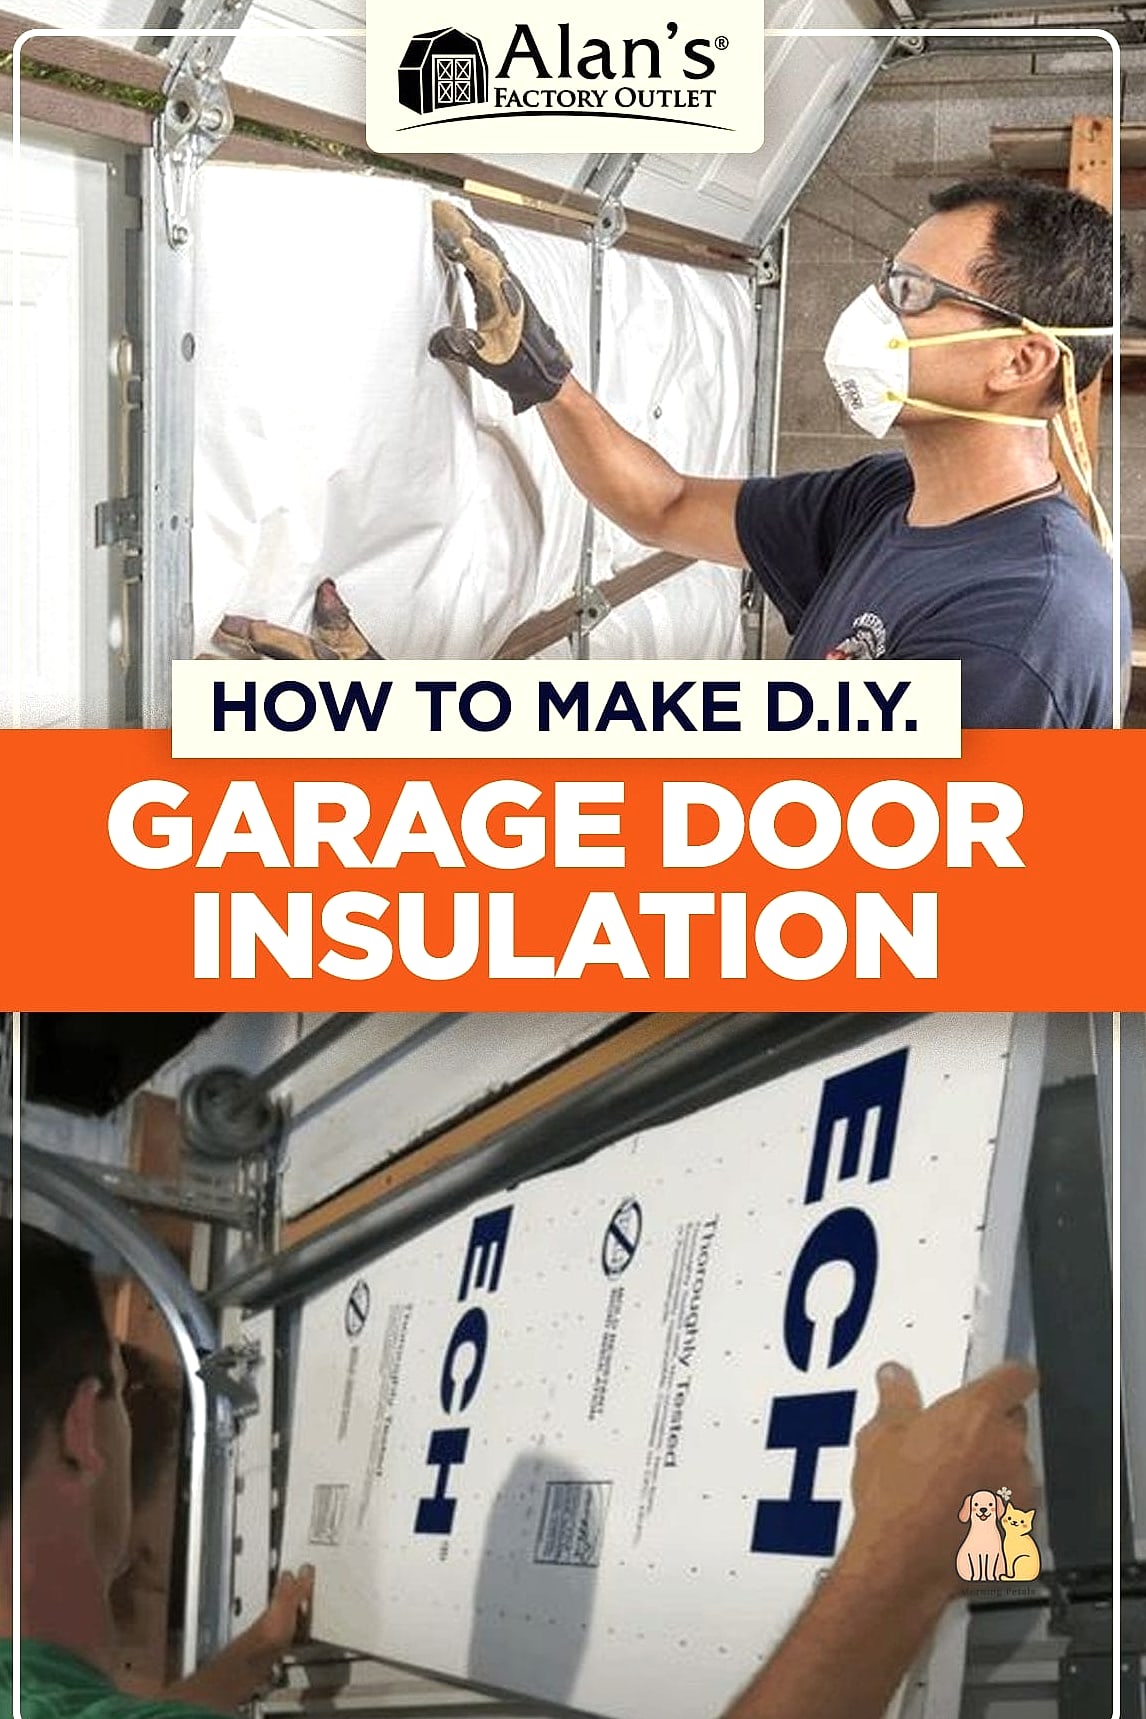
Not every insulated cat house needs to live outside in the elements. If you’ve got a garage a cat can access through a small gap or pet door, a simple insulated box tucked into a corner works wonderfully and stays drier than anything outdoors. Line it with straw, keep it away from chemicals or antifreeze, and you’ve got one of the lowest-maintenance options around.
Whichever build you land on, the core formula stays the same — insulation, a small entry to hold in body heat, straw instead of fabric, and a design that keeps moisture out. Pin a few of these, pick what fits your space and budget, and that outdoor cat on your porch is going to have a much warmer winter because of it.